Mattermost Ticketing
1. Enable Bot Account Creation
Log in to Mattermost with your administrator account.
Click Main Menu icon and then click System Console.

Scroll down to INTEGRATIONS section and click Bot Accounts.
Select true for Enable Bot Account Creation, and click Save.

2. Create the Bot Account
Click the Main Menu icon on the System Console, then click Switch to your team.

Click the Main Menu icon from the main screen of Mattermost, and click Integrations.

The following dialog opens.

Click Bot Accounts > Add Bot Account.

Fill in other optional fields as needed:
- Username for your bot (e.g., “Binadox” or another appropriate name)
- Display Name (how the bot will appear in conversations)
- Description (optional)
- Select System Admin as the role for your bot.
Click Create Bot Account.

After creation, a success notification will appear with your bot’s access token. Click Done when you have saved the token.
IMPORTANT:
Copy and save this token immediately in a secure location. You will not be able to retrieve it again.
Copy this Token. You will need this token for integration steps later. Save it well since you will not be able to retrieve it again.
3. Configure Mattermost Ticketing in Binadox
Log into your Binadox account.
In the navigation pane on the left, click System Configuration > Ticketing Sytems. Click Connect Ticketing system.

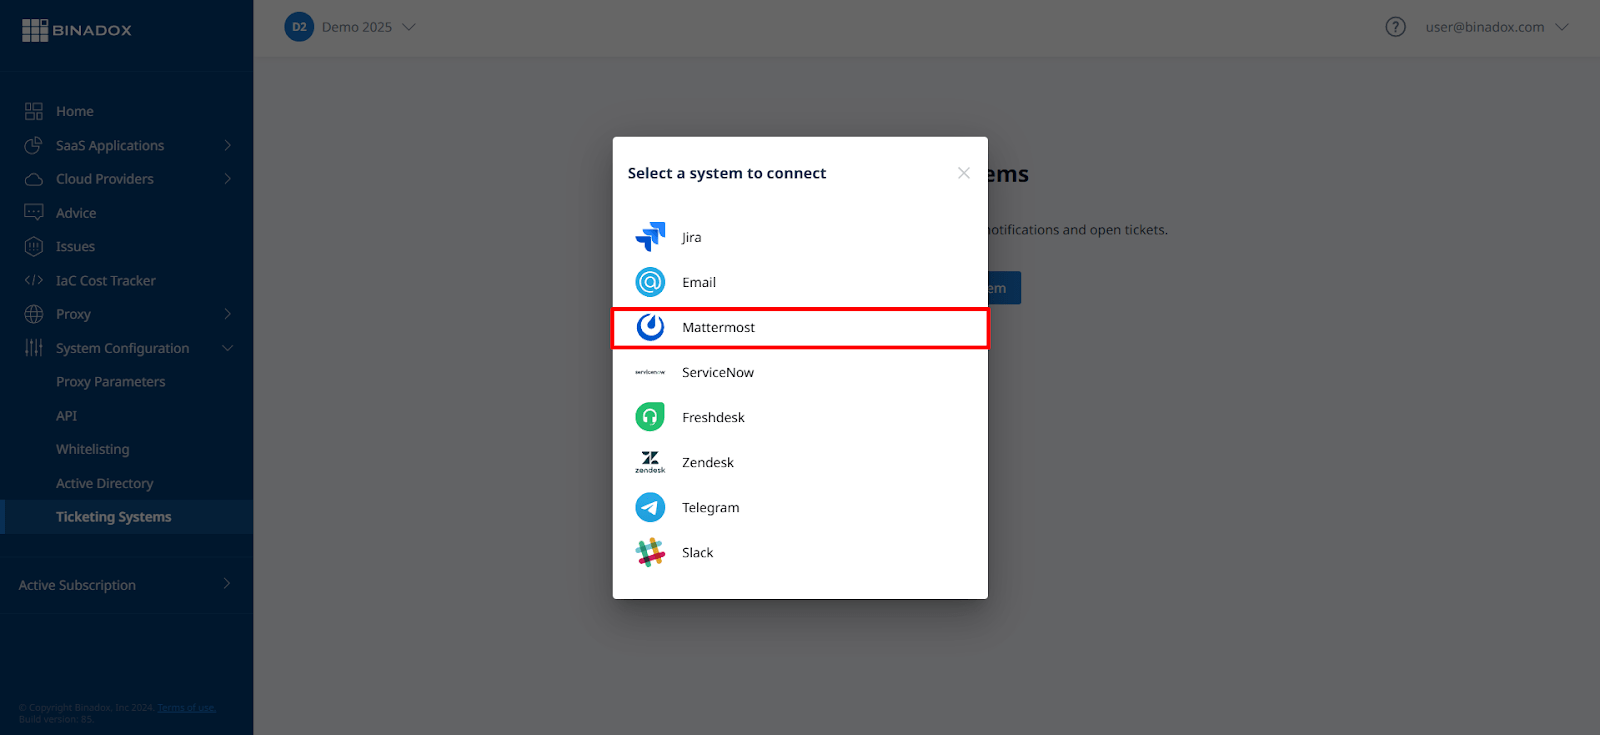
Select Mattermost from the list.
Create a meaningful connection instance name. Click Continue

Fill in the connection properties:
- Mattermost URL: Enter your Mattermost server URL (e.g., https://your-mattermost-instance.com)
- Bearer Token: Paste the Bot Token you saved in the step 2 when creating the Mattermost bot account
- Channel ID: Enter the ID of the Mattermost channel where notifications should be sent
Click Connect.

Confirm connection by the link from your e-mail address.

Upon successful Mattermost ticketing configuration, the connection status will switch into Connected.