Categories
Getting Started
Cloud Solutions
Cloud Integrations
SaaS Integrations
Proxy Configuration
Ticketing and Financial Systems Integrations
IaC Cost Tracker Guides
ServiceNow Integration
This guide provides information on how to integrate ServiceNow with the Binadox multi-cloud SaaS and IaaS usage monitoring and cost optimization platform as a ticketing system to be proactively notified of overspend on SaaS applications or IaaS services, budget excess or any other unusual expenses detected by Binadox.
1. Personal Developer Instance Creation
1. Sign into the ServiceNow developer site.
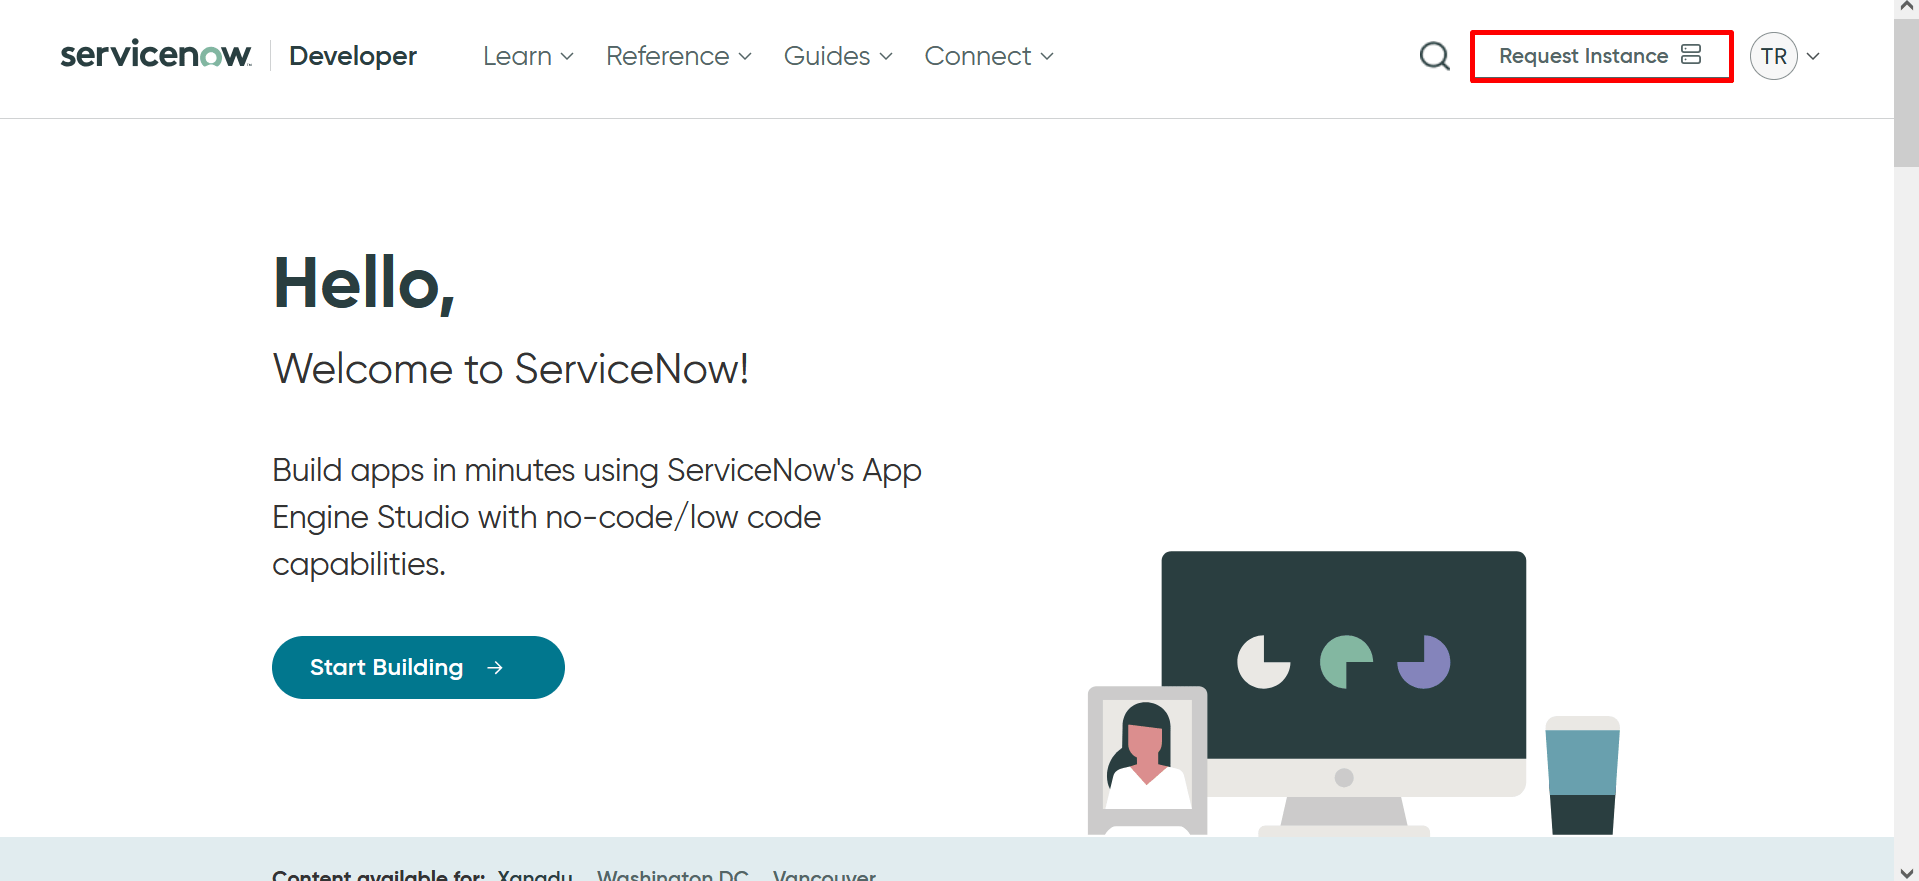
2. Click the Request Instance button.
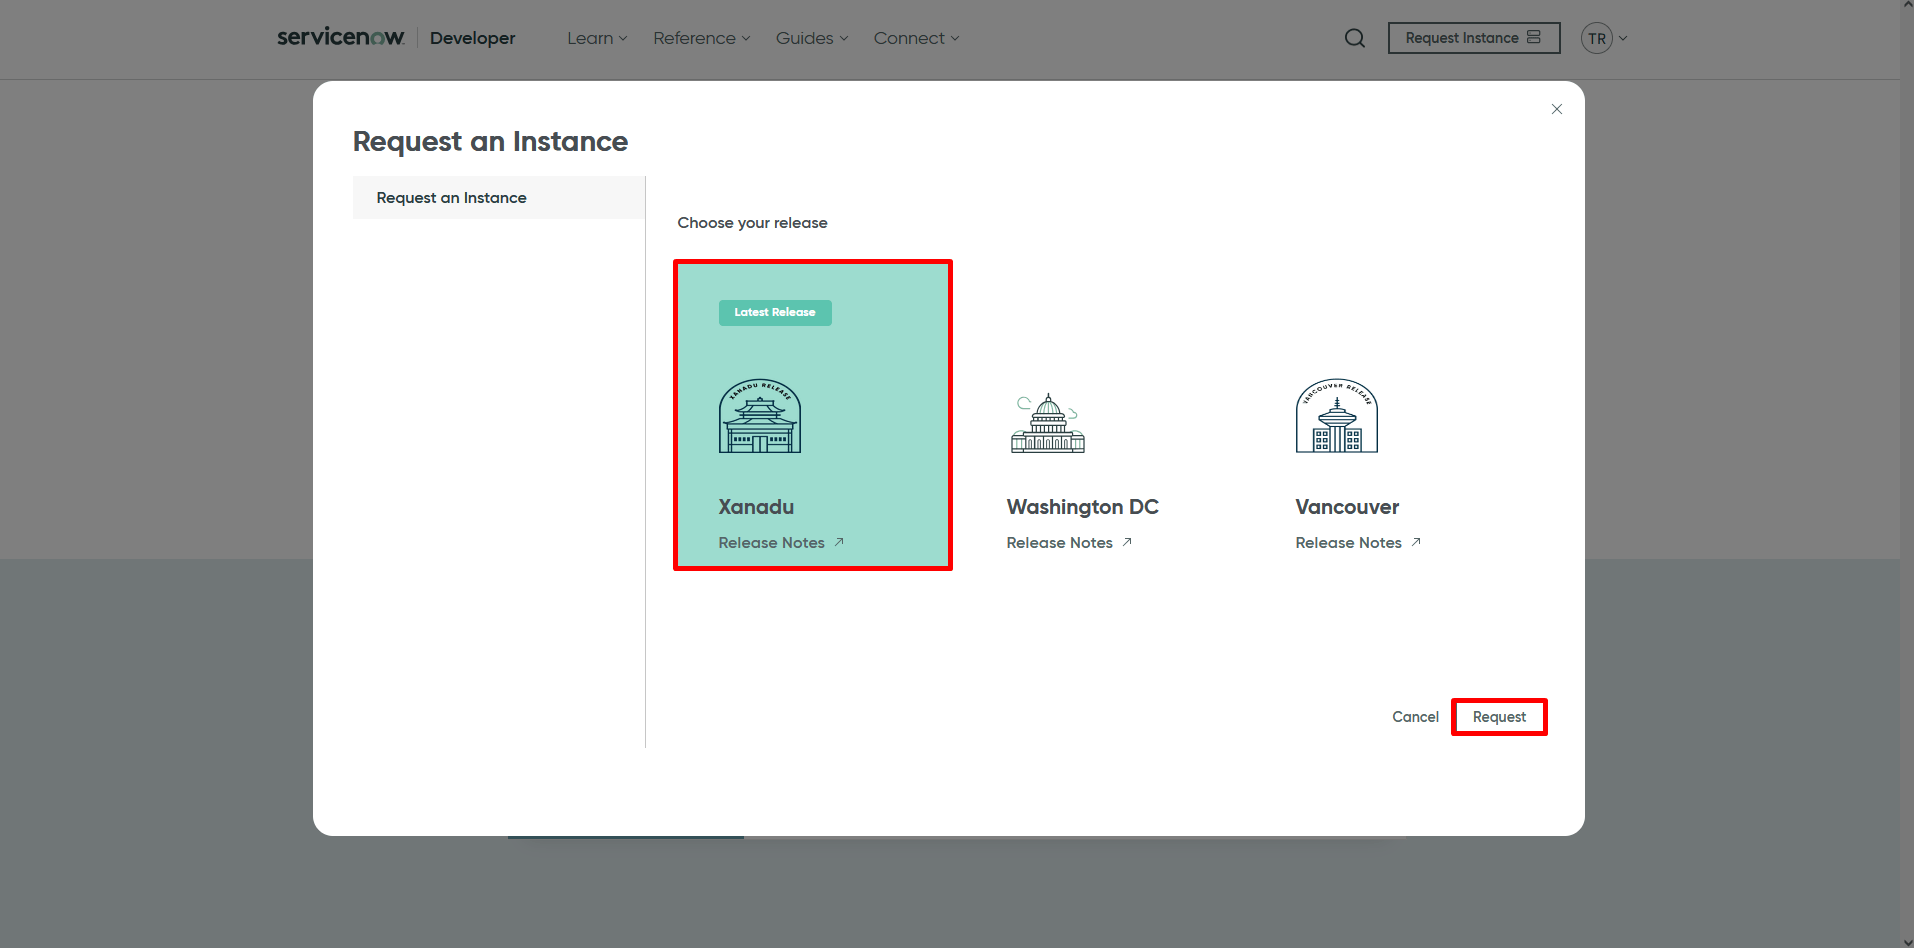
3. Select your preferred ServiceNow version from the available options. Click Request.
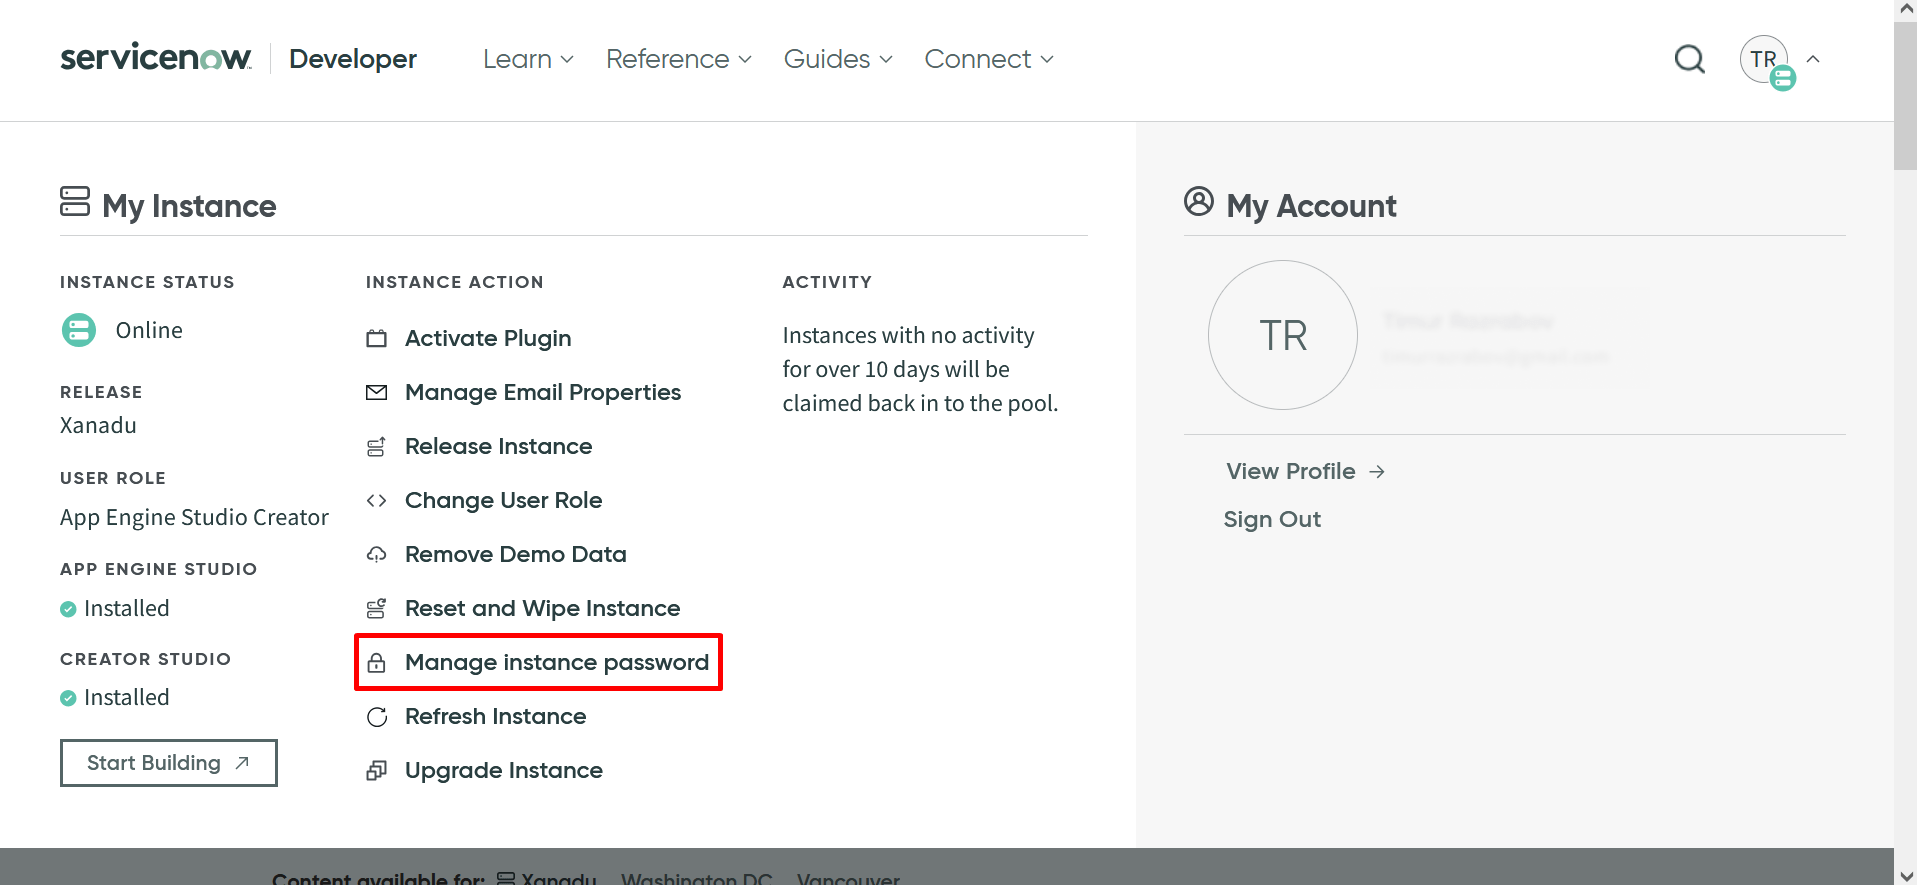
4. In the My Instance view, click Manage instance password.
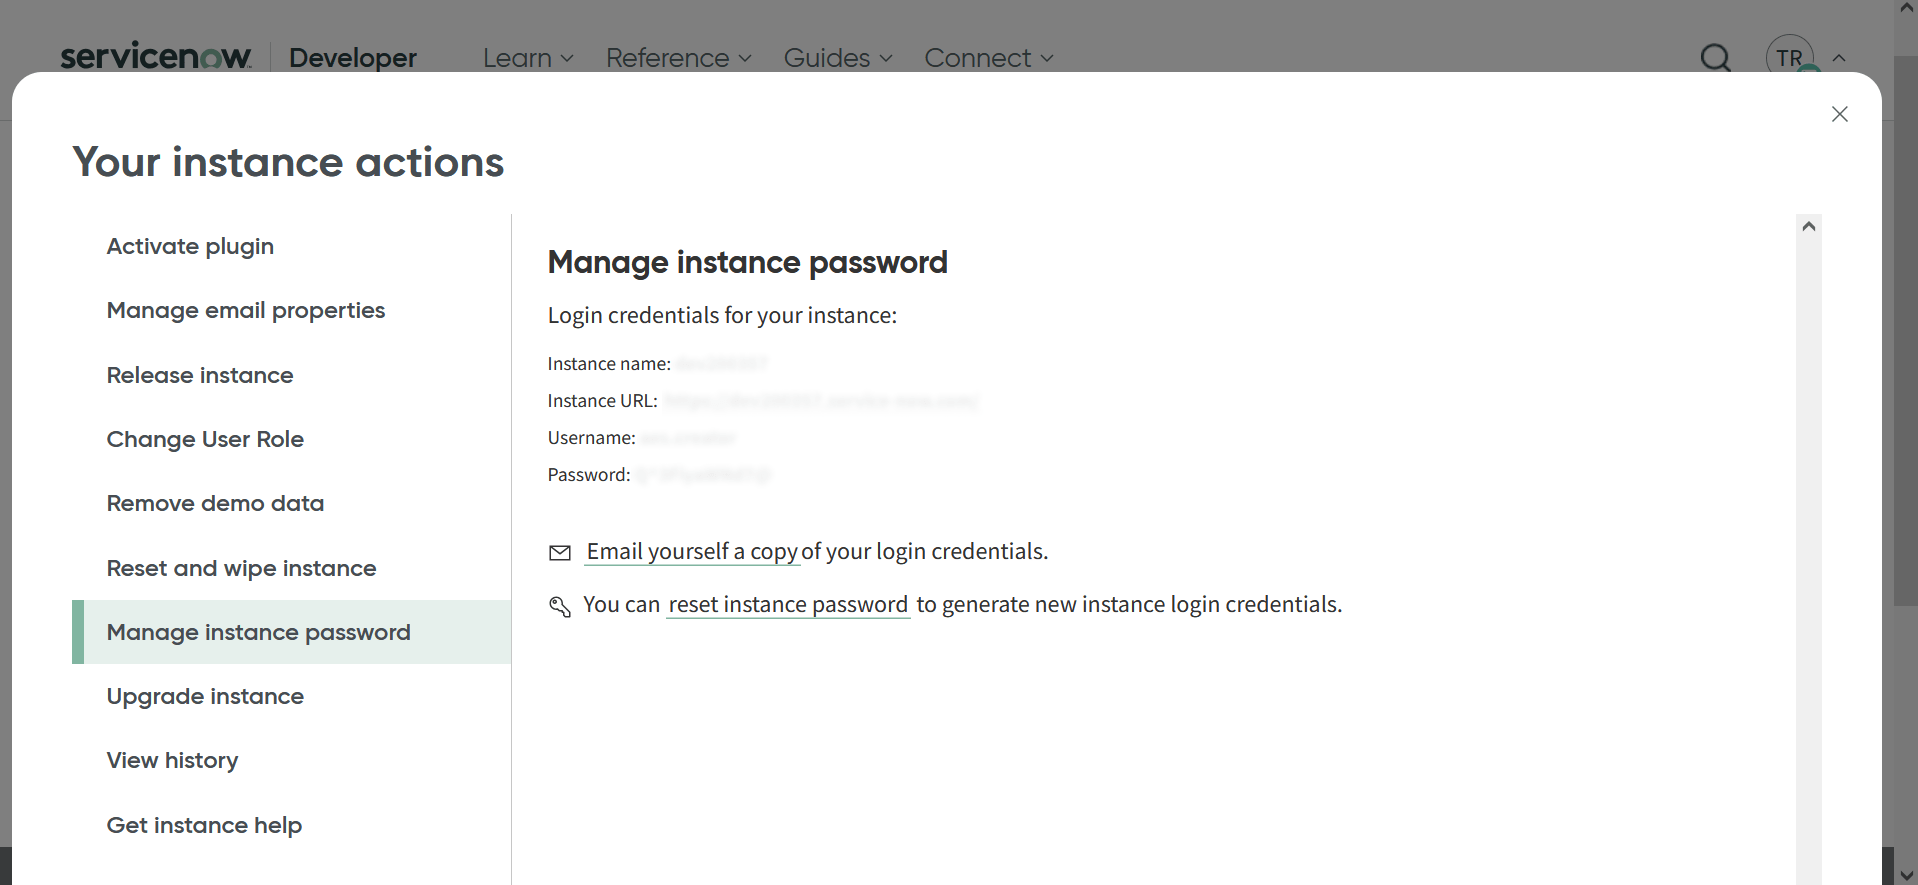
5. Copy the Instance URL, as well as a username and a password to log into the instance. This information is required to integrate ServiceNow with Binadox as a ticketing system.
2. ServiceNow Integration with Binadox
1. Log in to your Binadox account
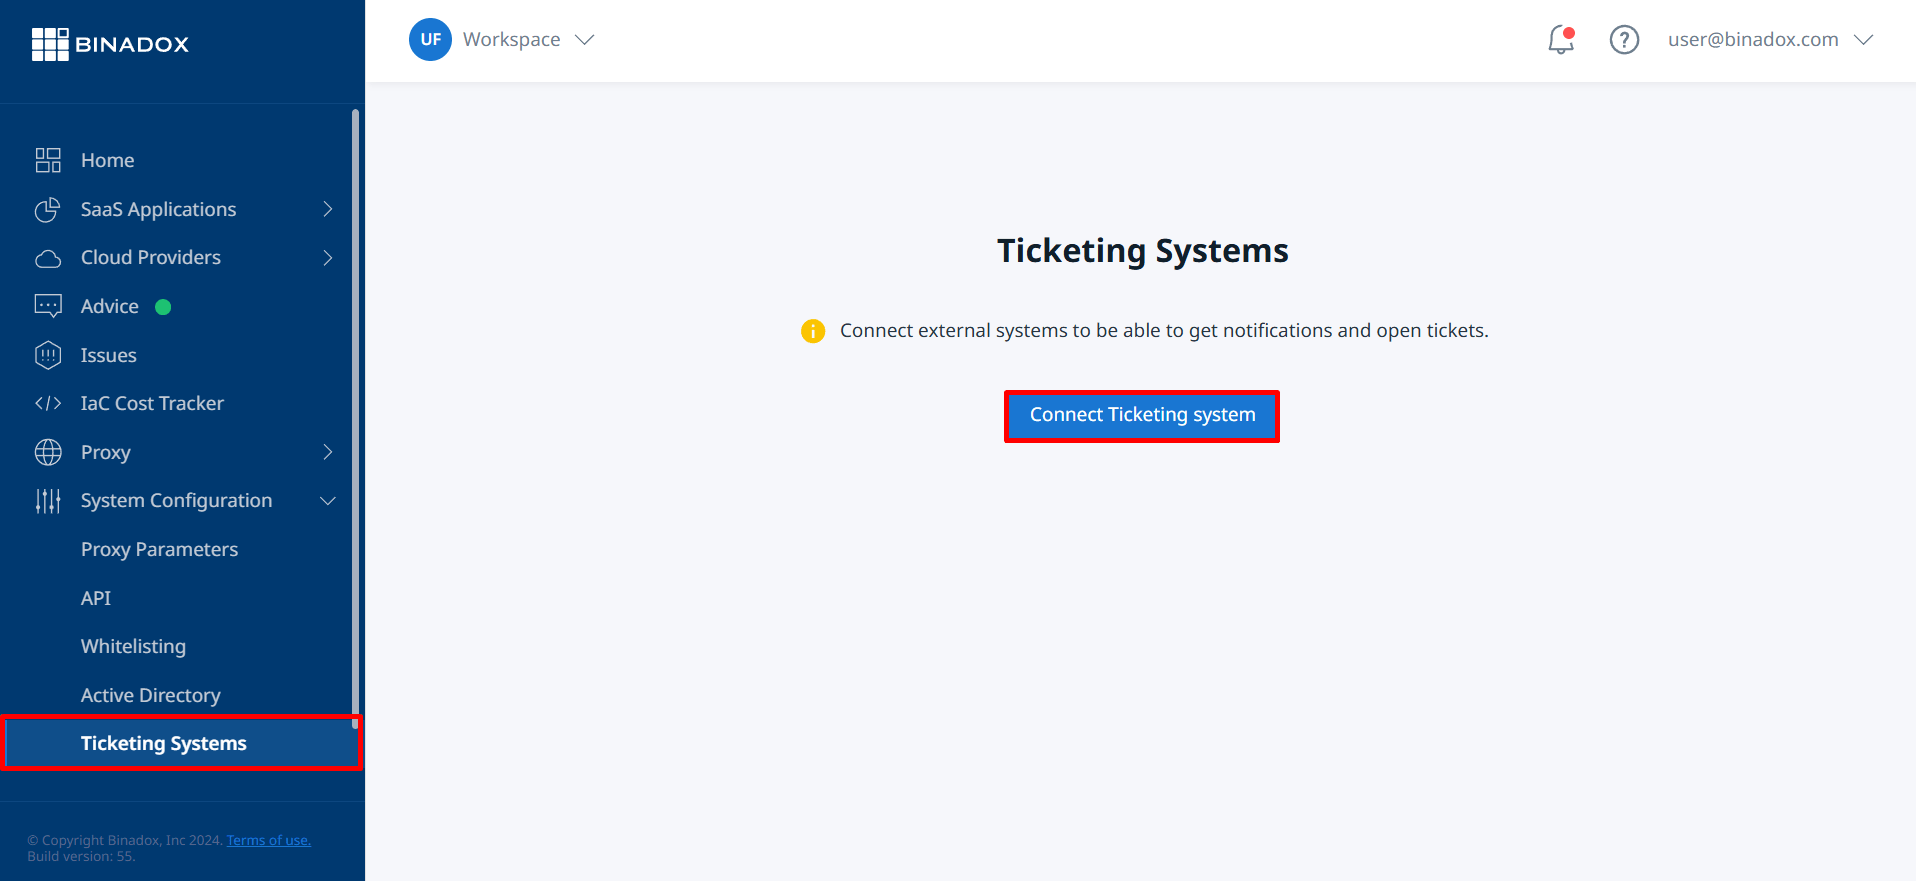
2. In the navigation pane on the left, click System Configuration > Ticketing Systems. Click the Connect Ticketing system button.
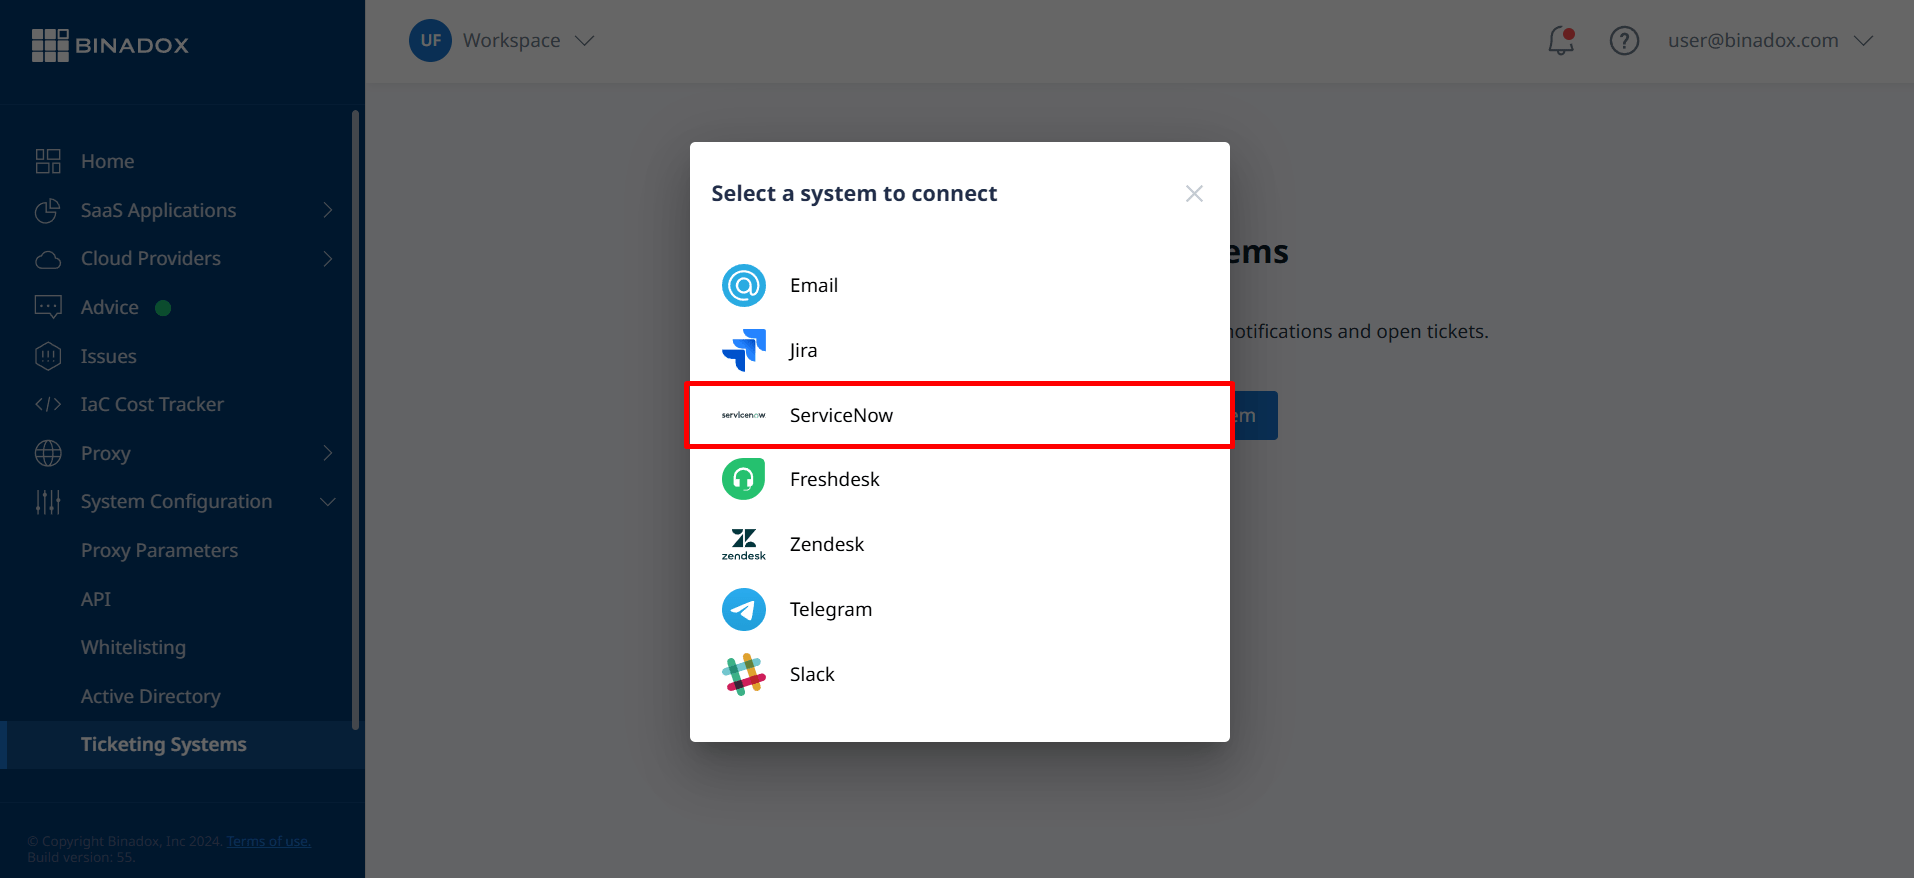
3. Select ServiceNow from the available ticketing systems.
4. Create a connection name for further reference. Click Continue.

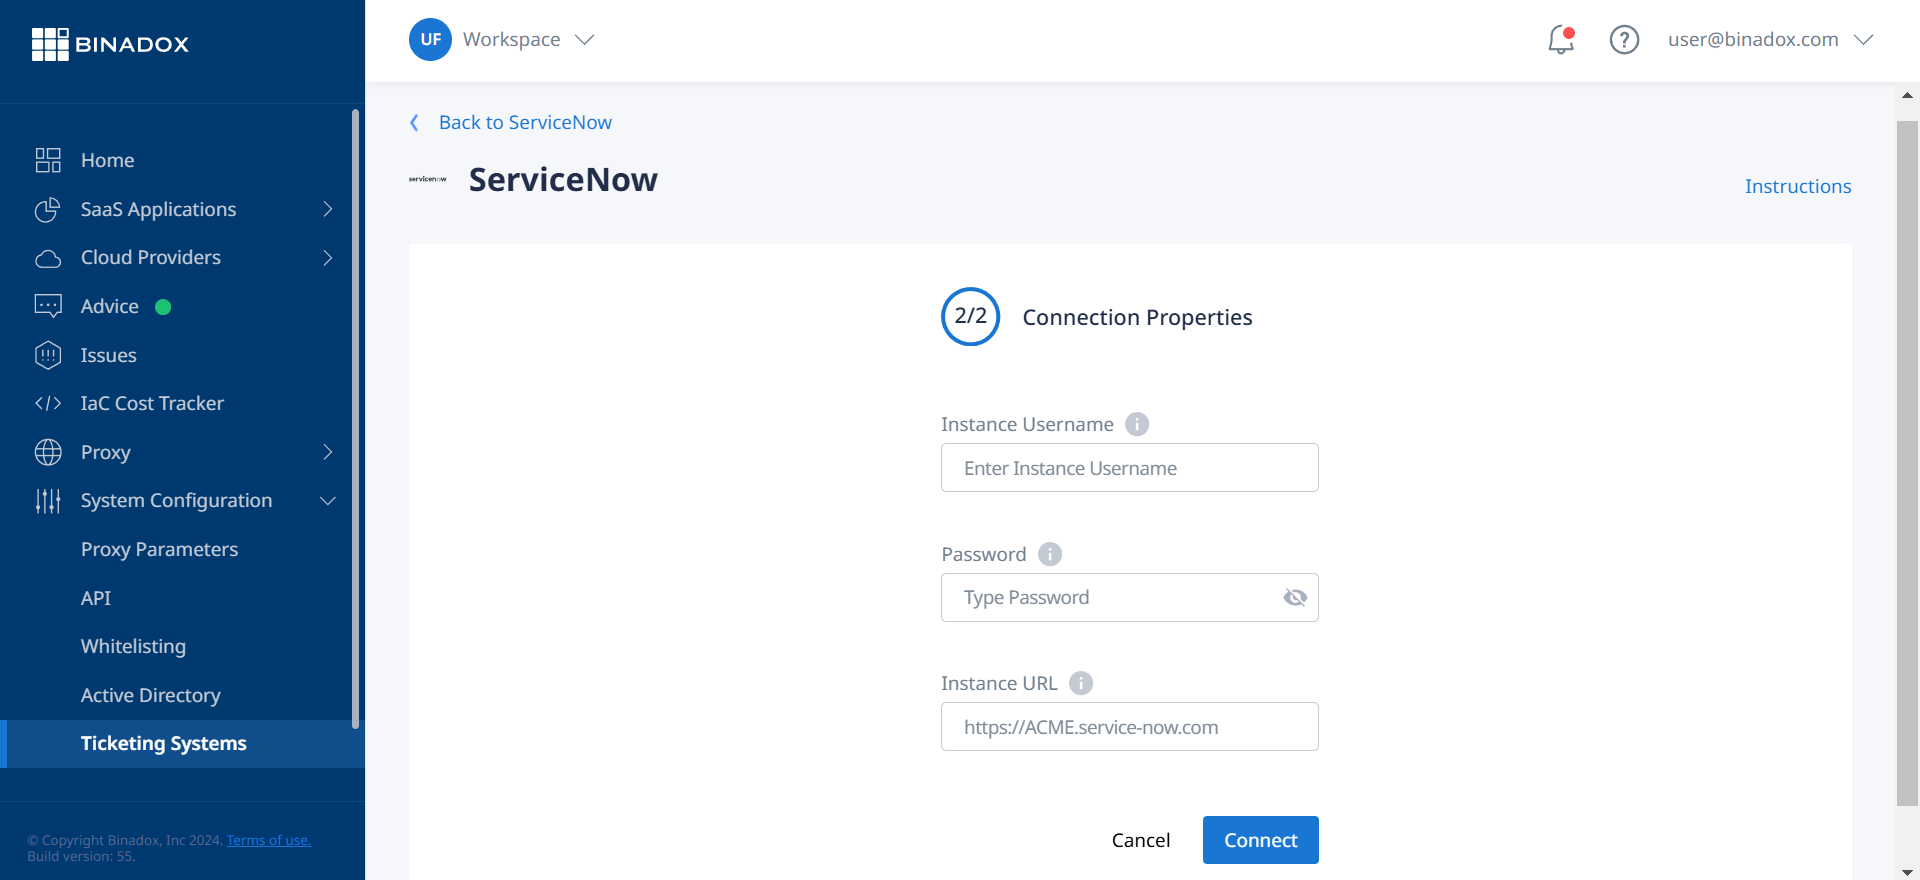
5. Fill in the following fields:
- Instance Username: Your ServiceNow instance username;
- Password: Your ServiceNow instance password;
- Instance URL: The URL of your ServiceNow developer instance.
Click Connect.
5. Upon successful ServiceNow ticketing configuration, the connection status will switch into Connected.
Was this article helpful?
Thanks for the feedback!
Go Up